

How we refinished our original hardwood floors
Last fall we bought an old home. We’ve spent the past 8 months renovating it mostly ourselves. You’ve probably heard me talk about it (nonstop).
When we bought our home, all the original hardwood floors were covered. The kitchen was covered in layers of laminate flooring, the living room and dining room were carpeted in decades old carpet, and the entry was even covered in a more recently installed hardwood flooring. We had no idea if the original floors were any good. But we could not wait to find out.
Are the original hardwood floors even any good?
Hours after closing on our home, we rushed over + ripped out the carpet. What we found underneath made us hopeful that the rest of the hardwood floor would be in good shape too.

Removing the carpet was a huge job for a family of 3. To remove carpet, just start at one corner of the room and start pulling. The carpet will lift up from the tack strips fairly easily. But it gets heavy fast! We rolled the carpet into panels and cut down areas with a razor knife to making them easier to move out of the house. Then we pulled up the carpet padding that was stapled in place. This left tons of staples on the floor.

With the carpet and pad gone, we could really take a good look at the original hardwood flooring. After decades of being covered in carpet the floors had been persevered beautifully. We felt confident that any visible damage or wear would sand out when we refinished them.

Once we removed the carpet and pad, we spent the next couple of days ripping up the tack strips that ran along the edges of the room and pulling the pad staples one by one. For the tack strip we used a cats claw and a hammer. For the staples we used a screwdriver to push staples up from the floor and a pair of pliers to pull them out. Several people also recommended a specific tool for removing staples in the floor but we didn't have any trouble using the tools we had on hand.

Patching in + replacing areas
To get the layout we wanted, we decided to remove 2 sets of walls on the main level. With those walls gone, we had to patch in new hardwood flooring to match. This created several problems for us. One, we had a hard time finding skinny oak boards to match our 1010 year old floors. We eventually found a good match at a shop local to us. Then we found out, patching in hardwood floors is just kind of a whole mess in itself. It really requires it's own detailed post.

Eventually we realized the kitchen flooring was different from the rest of the first level. This narrow quarter of the main level was actually a wide plank redwood and the rest of the hardwood floors were 2" oak. So that whole area had to be replaced to work with our open concept layout.


Patching holes with sawdust glue
Old floors aren't ever going to be perfect. We had several holes that needed attention. To fill these area, we mixed sawdust with glue. When you do this, aim for a toothpaste consistency. The mixture was applied liberally to small holes in the floor and left to dry overnight. The next day we sanded these area down.


Be sure to argue about your flooring finish for several weeks
Finishes are hard. They are the box of color that everything in the room will fit inside. And color changes the way other colors appear in the same space. It's one of the reasons picking finishes can be so tricky. Refinishing your floors will take lots of time + energy, so you don't want to regret your choice down the road.

We considered traditional stains, paint stains and clear coat finishes. To test out these options, we sanded an area of the floor with a palm sander down to the original natural color of the wood. Then we tried out several samples we thought might work in the space.

After much debate, we decided not to stain the wood. Instead we left the natural wood tone and covered it with a clear coat water based protective finish. We went with Varathane high traffic formula water based crystal clear stain flooring finish.

Now it's time to sand everything
If you are also painting your walls, it's best to do this before refinishing your floors. Any paint that is dripped onto the floor can be easily sanded off in the next step. Before you sand your floors, remove the 1/4 round trim along the base of the room. This will be reinstalled once the floor is finished.
We rented a drum floor sander to sand the areas away from the wall. On the edges of the room we rented an orbital/edge sander. For tight areas where these sanders wouldn't fit, we used a palm sander.
Start with a low grit or rough paper and sand the entire space. Then sand the space again with a higher grit sand paper. Plan to sand each area 3 - 4 times. The low grit paper will rip up any existing stain quickly. The higher grit papers will slowly smooth the wood surface as you work through the levels.

The drum sander we rented wasn't in great shape. Instead of vacuuming up the sawdust created when you sand the floors, it left much of it scattered across the floor. But we made due by wearing a really good mask + vacuuming up the mess with a shop vac.


Stain + finish right away
Avoid walking on your recently sanded floors. Once the floors have been sanded down, they need to be stained and/or finished immediately OR you'll want to protect them with paper.
Unfinished wood is going to absorb everything: spills + dirt. It's not easy to wipe away because the wood absorbs it. You'll have to sand dirty areas again to remove this stuff. This really became an issue when we refinished the main floor space because we had to walk through our main living space to get upstairs. We taped kraft paper down and that worked pretty well.
If you are staining your wood (which we didn't) you'll want to apply stain in coats as directed on your can of stain. Once the stain has been applied, or if you are just finishing natural wood like we did, you can start layering on the finish.

Stir the finish to get started, never shake it. Avoid creating bubbles in the finish. Once you apply finish to the wood it can will make the wood a little darker. This difference in tone is more dramatic while the finish is wet. Once the finish dries, there will still be a difference in tone but it will be less dramatic.
We applied finish with a thick wide paint brush. We went back and forth with the woodgrain in section across the floor. A little finish goes a long way. Stir the can of finish as you go and avoid making bubble when you stir. We applied 5 layers of finish, allowing each layer to fully dry between coats.

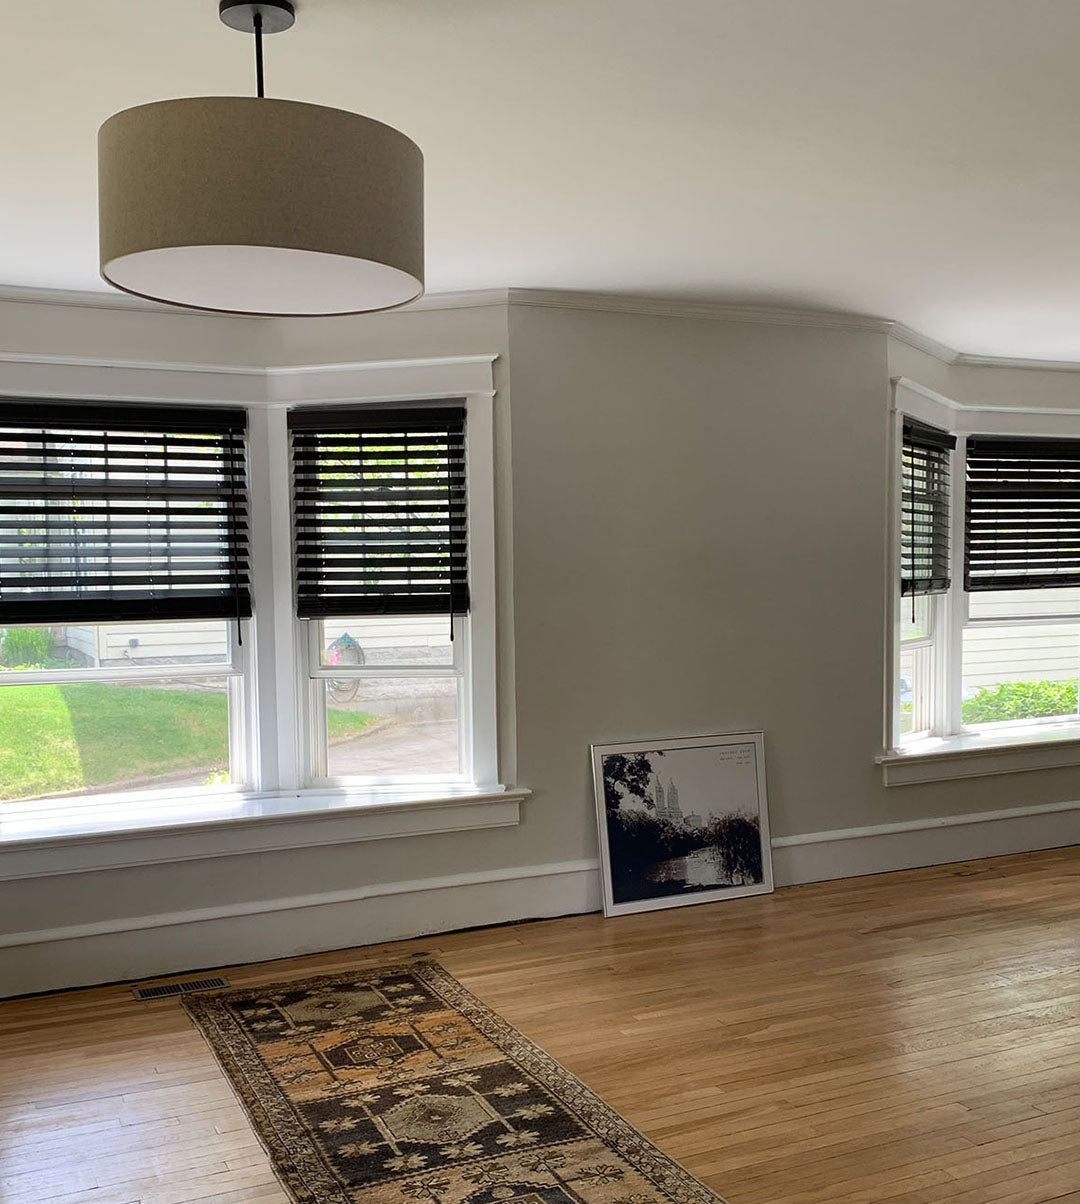
And that is exactly what we did to get to here! We are loving our new old floors + eager to layer rugs in over them.